


Applying thermal paste to your GPU or CPU is an important skill to acquire, whether you’re a seasoned PC enthusiast or a beginner to the world of computer building.
Thermal paste is essential for transferring heat from your processor or graphics card to the heatsink, providing efficient cooling and performance. We’ll walk you through the process of applying thermal paste like a pro in this step-by-step instruction.
Step 1: Gather Your Tools
Make sure you have all of the necessary tools and supplies before beginning the application procedure. You will require:
Suggested thermal pasts
#1
ARCTIC MX-4

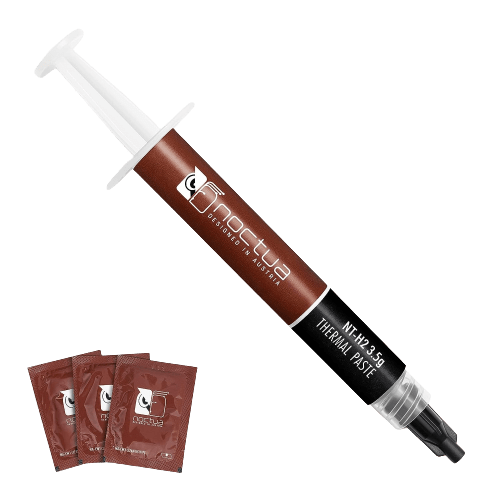
#2
Noctua NT-H2
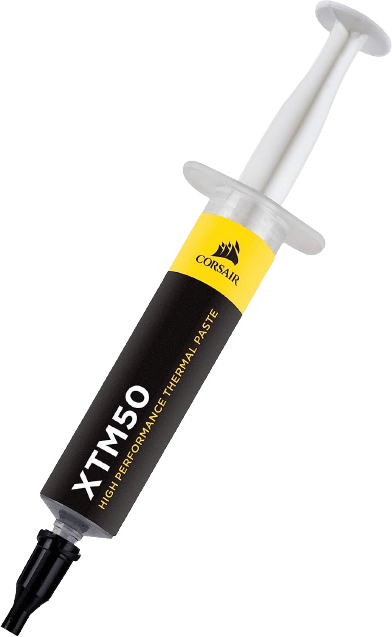
#3
CORSAIR XTM50
#4
Cooler Master Cryofuze Violet

#5
Thermal Grizzly Kryonaut
- High-quality thermal paste: To achieve the greatest results, invest in a reputed brand known for its thermal conductivity.
- Isopropyl alcohol (rubbing alcohol): For removing old thermal paste from the CPU or GPU.
- Wipe away the old thermal paste residue with a microfiber cloth or lint-free paper towels.
- Cotton swabs: For reaching into tight spaces and thoroughly cleaning.
- A clean, flat workspace: Work in a dust-free area to avoid getting debris on the components.
Step 2: Preparing Your GPU or CPU
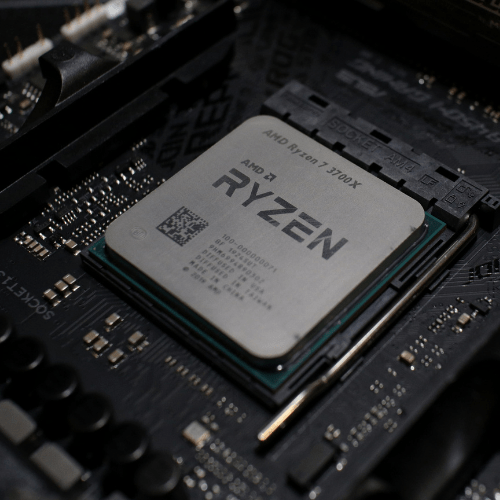
Make sure your GPU or CPU is clean and ready for the new application before adding thermal paste. Remove the heatsink or cooling unit from the component carefully if you’re replacing the old thermal paste.
- Unplug and disassemble: Turn off your machine, unplug it, and remove the GPU or CPU as needed.
- Clean the surface: Gently remove the old thermal paste from the processor or GPU chip with isopropyl alcohol and a microfiber cloth or paper towel. Take care not to harm the CPU’s fragile pins or other sensitive components.
- To reach any nooks and crannies where residue may remain, use cotton swabs wet with isopropyl alcohol.
Step 3: Applying the Thermal Paste
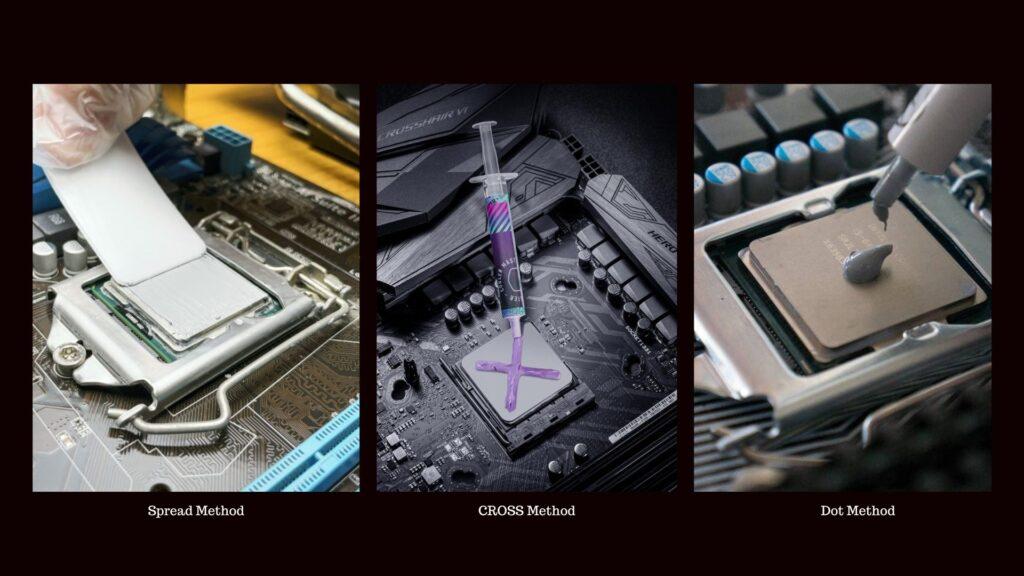
- Now is the time to apply new thermal paste to your GPU or CPU. There are various application ways, but the “dot” approach, the “Cross” or “X” method, and the “spread” or “line” method are the most popular.
- The “Dot” Method: This is one of the most basic and widely used methods for applying thermal paste. Put a pea-sized dot in the center of the GPU or CPU. When you install the heatsink or cooler, the pressure will evenly distribute the paste.
- The ‘cross’ method involves drawing lines from one corner to the opposite corner, then repeating the process for the other corners, resulting in two intersecting lines at the center.
- The “Spread” or “Line” Method: You can also draw a thin line down the center of the chip. The line will stretch uniformly under pressure when you attach the cooler.
Step 4: Mounting the Cooler
After you’ve applied the thermal paste, it’s time to reinstall the cooler on your GPU or CPU.
- Align the cooler: Carefully replace the heatsink or cooling unit on the GPU or CPU, making sure it is aligned with the chip.
- Apply even pressure: Lower the cooler slowly and evenly over the chip, allowing the thermal paste to spread uniformly.
- reconnect and secure the cooler: Follow the manufacturer’s directions to reconnect and secure the cooler. Use the proper screws or clips, being careful not to overtighten them.
Thermal Paste Replacement
There are several reasons to replace the thermal paste on your GPU or CPU, including continuous overheating. Obtain new thermal paste before removing the GPU from the motherboard or the heatsink from the CPU.
A combination of a microfiber cloth or paper towel and high-percentage isopropyl alcohol works effectively to remove the leftover paste. Gently rub off the paste, being cautious not to use too much effort.
After thoroughly cleaning, apply the replacement thermal paste in the same manner as you would for a new CPU or GPU.
Step 5: Testing and Monitoring
It’s time to put your system through its paces now that you’ve successfully applied the thermal paste and reassembled it. Run benchmark testing and keep an eye on temps to confirm the thermal paste is working properly.
Conclusion
Thermal paste application is a necessary skill for any PC builder or hardware enthusiast. You can keep your components cool and ensure optimal performance for your computer by following this step-by-step tutorial and using high-quality thermal paste. With adequate cooling, you can unlock your system’s actual potential and enjoy smoother, quicker, and more dependable computing experiences. Happy construction!